My First TUSAL

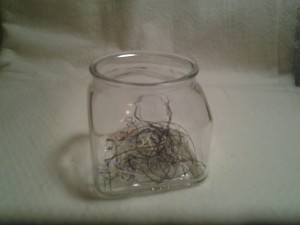
Being in the YOTA spirit, I joined Daffycat’s TUSAL 2015 challenge.  TUSAL stands for Totally Useless Stitch A Long.  TUSAL is a blog game where members post a photo of their ORT jars on the New Moon of every month.

What is an ORT you say?  In the stitching world, ORT stands for Old Ratty Threads.  These are the little pieces of thread that a stitcher cuts away at the end of the thread piece.  The word “ort” does appear in the dictionary: a bit of something left over; usually concerning food.  Well, the only ORTs in my house are of the thread variety – never food.

Since I already save my ORTs in a little bag by my stitchin’ spot on the couch, I thought this would be fun to show them off to everyone out there on The Interwebs.

Here are the rules from Daffycat’s post:

1.  Comment on Daffycat’s TUSAL 2015 post.

2.  Get a glass jar or other clear container and save your thread clippings. You can include fabric trimmings, thread bands, empty spools or any other stitching cast-offs they gather. You may continue filling this jar throughout the year OR you may empty the jar and start over each month ~ no firm rules here!

3.  On (or about) each New Moon take a picture of the ORTs in your jar and post it to your blog. This is a blog game so YES, you MUST have a blog to be included.

4.  Yes, you can use your current ORT jar or jars. This is no contest…the stitcher with the most ORTs doesn’t win!

5.  Post a picture each New Moon, even if there has been no “progress” to show.  We are aiming for “once a month” here…no whippings for being late, early, or absent!

6.  When you have posted the picture of your ORTs visit Daffycat’s blog and comment on her ORT report for that month’s TUSAL.

Here is Daffycat’s blog if you would like to peruse her page on the TUSAL 2015 challenge:

http://itsdaffycat.blogspot.com/
The challenge follows the Lunar Cycle. The first New Moon date for 2015 was yersterday, January 20th!  So, without further ado…

    1421807888364

The New Moon dates for 2015 are:
January 20
February 18
March 20
April 18
May 18
June 16
July 16
August 14
September 13
October 13
November 11
December 11

I will post a picture of my ORT jar on or around each of these dates to show my ORT progress.

See you on the next New Moon!


Blue & Gold binding

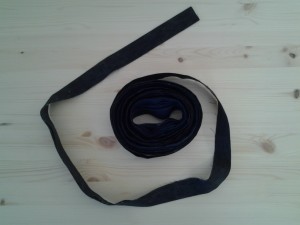
Since my last post on my daughter’s college quilt, I have washed and ironed my extra fabric to use for binding.  After cutting the strips and sewing them together, I iron them in half wrong sides together.  Then it is ready to be sewed onto the quilt!  Yay!!!

Here it is rolled up, ready to go.

1421620063622

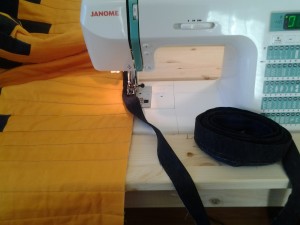
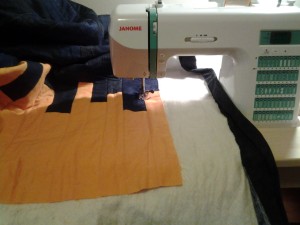
Now it’s time to sew!  Using my walking foot, I sew the binding onto the edge of the quilt.

 1421620556342

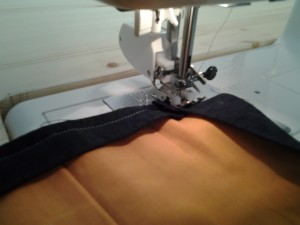
The corners can be a little tricky.

1421620831989

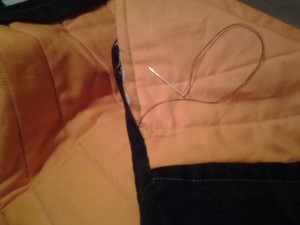
Then it is time for hand sewing.  Boo!!!  I know some people can machine-sew their binding onto the back of their quilt, but I have never been successful with that.  So, it is hand sewing for me!

1421631795754

It should take a few days to complete the hand sewing.  I have to take occasional breaks so I don’t hurt my wrist or hand.   But it is nice to know that I am so close to being done!  Yippee!!


YOTA 2015

YOTA: Year Of The Acronym

In my many hours spent searching The Interwebs for like-minded cross stitchers, I stumbled upon a blog called Pull The Other Thread.  On this blog, she has a wonderful yearly UFO SAL, which she lovingly named “YOTA.”

________________________________
Here are the guidelines for the SAL directly from the PTOT YOTA post:

“Once a month – the first Saturday – will be YOTA post day. If you want to join in just post before and after pictures of any UFO projects you are working on. I will work on one UFO at a time and if I finish one I will move onto another.

I will work on it whenever I get a chance in any one month but anyone who wishes to join can do as much as they feel they want to on their projects.

If you have some UFO’s which are not stitching but knitting, quilting etc. and want to join in with those then feel free.”

To read more about YOTA visit:  http://pulltheotherthread.blogspot.com/p/yota-year-of-acronyms.html
________________________________

Since I joined in the middle of the month, I missed the January YOTA post day, but for the rest of the year I will post my progress the first Saturday of every month.

For my YOTA 2015 projects, I picked two WIPs that have been languishing about for some time now.

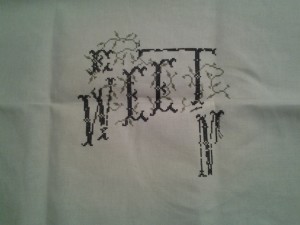
Here is the first one that I want to finish.  The pattern is  “Home Sweet Home” by La-D-Da designs.  I started this about 2 years ago and worked on it for a few weeks and then moved on to something else.
1421297911920

Here is my progress as of today.  (Please forgive the crease lines.)

1421298103162
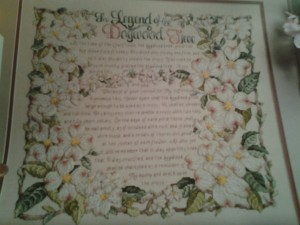
The second WIP designated for the YOTA will be The Legend of the Dogwood Tree.  In preparation of this post, I was digging around in a box of cross stitch stuff looking for a wedding sampler that I started a few years ago and came across this pattern.  I had completely forgotten about it.
1421298517417

I didn’t have time to search for the actual project before this post, but I don’t think I am very far into it.  If I remember correctly, it is maybe 20% completed.  I will dig around some more and post a picture of it at a later date.

THE PLAN:  My Plan is to work on the Home Sweet Home (HSH) project until the end of June.  The goal is to finish the stitching by the end of June, but if that doesn’t occur, I will just switch to stitching on The Legend of the Dogwood Tree (TLOTDT) on the first of July and put away the other.  With that being said, I can’t guarantee what is acutally going to happen.  Sometimes, The Plan goes awry.  I may get tired of stitching on HSH and want to change gears during March.  Who knows?  Definitely not me!

But it certainly makes my OCD mind feel better to have The Plan in place.  If The Plan goes off course, I will just readjust and continue on.

Happy Stitching!

School Colors

In theory, I love making quilts.  In reality, I just don’t have the patience to enjoy the process.  I LOVE picking out fabric.  I absolutely have an obsession with quilting fabric!  I have collected A LOT of it.  I love the beautiful colors, fondling the silky smooth cloth, oogling over all the different choices.  You get my point.

Once you pick the fabric, then you have to cut it up.  I am mostly patient with this step.  Sometimes it can seem like this takes forever.  And I mean FOR. EVER.  Then comes the piecing.  That can acutally be fun for a little while.  You get to see the beginnings of the quilt and that can be super exciting.  But, inevitably it either gets boring because it is all the same or gets frustrating because the block is too complicated.  And then comes the actual quilting.  Ah, the quilting.  The bane of my existance.  Not only am I terrible at it but it takes soooooo long.  It causes me great stress.  I have a hard time deciding on the quilting pattern.  I am not good at free motion, so usually I just end up doing straight lines.  And then those don’t end up being straight.  More like wavy.  Or maybe wobbly is a better term.  Either way, it is not a good thing.  Let’s just say that I am not going to win any awards with my quilting.  Sigh.

So all of that was to introduce my current quilt project.  It is a project that I started when my daughter got accepted to college.  I wanted to send her off to school in the fall of 2014 with a quilt made out of her school colors.  Blue and gold.  In April 2014, I had a craft retreat to go to and I thought her quilt would be a great project to work on.  Before the trip, I went to the fabric store with a shirt we had bought when we visited the school. I bought several varieties of the same shade of navy and one gold that matched perfectly.  She had seen a picture of a quilt in a magazine and liked it, but it didn’t have a pattern.  It didn’t look too complicated (it was just strips) so I figured I could wing it.

The piecing wasn’t so bad, it was monotonous and went fairly quickly.  I mostly finished this step at retreat.  Then came the “sandwiching” of the layers.  I ususally just pin with safety pins, but have been wanting to try out the adhesive spray.  It was definitely a process.  I spread everything out on my garage floor and sprayed away.  I was covered in it by the time I was done.  I guess I need to be more careful next time.  (Unfortunatley, I don’t have any pictures of these steps because all of this happened before I started this blog.)

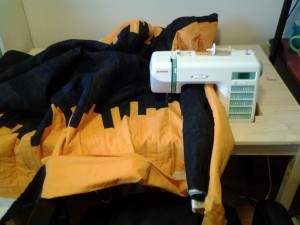
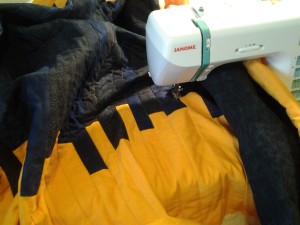
But, for the most part, the quilting was okay.  It held together pretty well with the spray adhesive.  Here is the quilt while I was quilting it.  I just stitched in the ditch on this one.

1421011564575  1421011483595
You can see part of the quilt rolled up under the arm of my sewing machine.  This is a pretty small quilt (large twin size or maybe full), so it was not as difficult as it could have been with a larger sized quilt.  My machine is small so it is usually very cumbersome and frustrating while trying to quilt the very middle of anything because that is when the most fabric has to be scrunched up under the arm.

1421019291020

Last row to quilt!  YAY!!!

Now to cut off the extra batting and backing fabric to make a smooth edge to sew my binding onto.

1421020255173

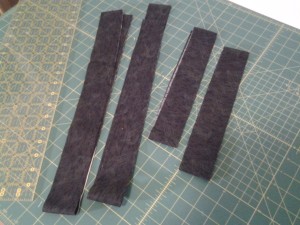
I remembered I had cut strips for the binding at the retreat, but once I pulled them out I realized I did not cut nearly enough.  I need about double this amount!

1421022802420

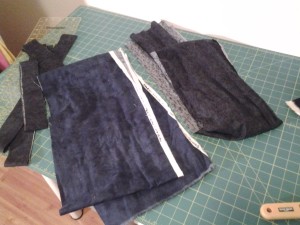
I didn’t have any extra yardage left over, so I decided to cut up the backing fabric that I just cut off.  But it has spray adhesive all over it and I don’t want that on my iron, so I need to wash it first.

1421022992101

Off to the washing machine!

So that is as far as I can go today.  I hope to be able to start on the binding tomorrow (Monday).  My daughter leaves to go back to school on Thursday.  I don’t think I am going to get it finished in time, but I plan to just ship it to her once it is finished.  Hopefully, this weekend.

A Butterfly Beginning – Artemisia

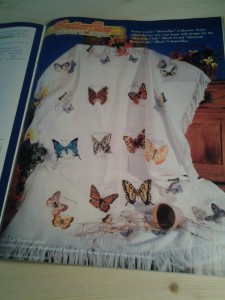
One of my goals this year is to complete two or three butterflies from a set of patterns I have had forever.  They ran in several issues of Stoney Creek Cross Stitch magazine in 2007.   I have had them flagged as a project I wanted to complete for years now and during the last few months of 2014 I got the supplies and completed one of the patterns.  There are a total of 12 butterflies, and they were intended to be made into an afghan.  Here is a picture of the completed afghan from the magazine.
1420401705196

I do not intend to complete all of them.  I only want to do a few (maybe 8 or so) and then frame them individually to hang on the wall.  I am thinking simple black frames or maybe dark brown.  But that will be a long way off, so I have plenty of time to figure that part out.

I am stitching on 28-count Monaco White.  I didn’t spend a lot of money on the fabric (bought from JoAnn’s I think) for these projects because I was being lazy and didn’t want to drive all the way across town to purchase from my local cross stitch store.  I normally don’t stitch on 28-count either.  I usually stick to my preferred 36-count but will mix it up with some 32- or 40-count sometimes.

This is a picture of the one that I have completed.  I did make one small modificiation to the pattern.  I omitted the lettering that identifies the type of butterfly which in the pattern, was centered between the wings at the top and bottom. There were also a few backstitch lines that sort of “framed” the pattern that I left out.

1420402027503 The name of this one is Marsyas Hairstreak.  I just love the blue/green colors!  I had to start with this one because blue is my favorite color.

The next one on my list is the Artemisia/Old World Swallowtail.   The magazine didnt’ have close-up pictures of the finished project – just the afghan – and I can’t get a good picture of it.

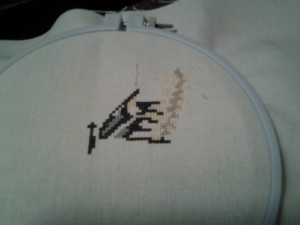
Here is my progess after two nights of stitching after work.

1420400890910

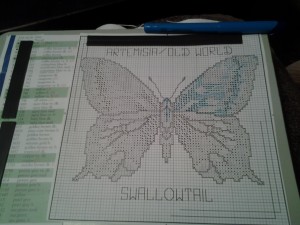
Here is what the pattern looks like.  It will end up being mostly black, grey, and yellow.  The blue on the picture is my highlighting the stitches I have completed.  This helps me see where I am in the pattern and helps eliminate mistakes.

1420401068140

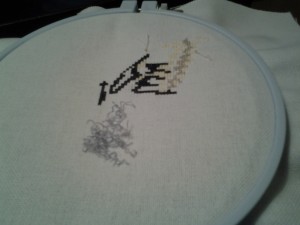
But, UGGGHHH!  I noticed that I did not read the pattern closely enough.  I thought one of the symbols was listed as grey, but it is a tweeding of two colors, grey and yellow.  So, I had some frogging to do!  I hate figuring out I made a mistake and then having to undo all that work I just did.   Oh well, c’est la vie!  At least I caught it early.  Moral:  READ YOUR PATTERN CAREFULLY!
1420403835076  1420404065120

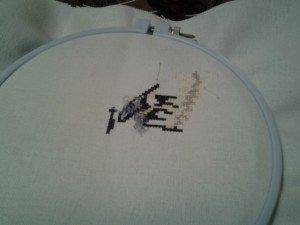
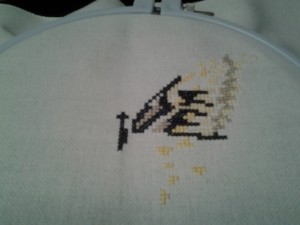
Here is a close-up of the project after stitched a little more and then re-stitched the frogged area in the correct color.

1420429838863

That’s all for today.

Happy Stitching!

-A